Opulent Ornaments
Enjoy the Opulent Ornaments by Paula Nadelstern!
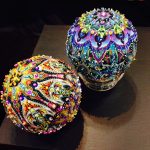
Here’s your chance to get in touch with your inner embellisher. These eye-catching ornaments often trigger nostalgic memories of family members who made some type of embellished Styrofoam ball. This version kicks it up a notch. You’ll intuitively rely on the repetitive flow of shapes and colors from a commercial kaleidoscopic or medallion-like print to create this easy-to-make and visually beautiful object, brimming with sparkle and ready to display.

It’s all done with regular, inexpensive dressmaker pins, not fancy-schmancy silk or piecing pins. The key is to layer luminous beads with iridescent sequins; I pile one sequin on another for interesting effects. It’s a More is MORE moment!
About thirty ornaments—some on candlesticks, others filling a wrought iron basket—spill along the top of a 7 ft. long x 1 ft. wide x 3 ft. high rosewood cabinet in the living room of my New York City apartment. Sitting under a quilt and behind a couch, the unit was built to store rolled up quilts.

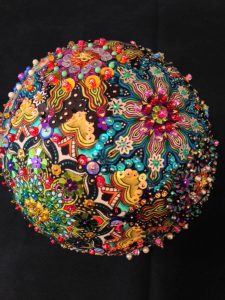
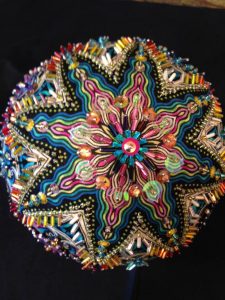
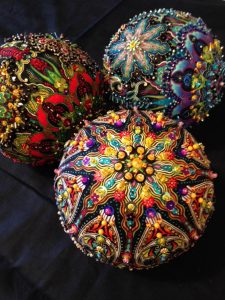
Here are images of the most recent ones I’ve made with my friend Katherine Knauer.


Now I get to introduce you to Karen Selva from Colorado Springs, CO. Karen spent twenty-four years in the Air Force before retiring as a colonel. Her three kids are grown and she works on a variety of craft genres to her heart’s content.
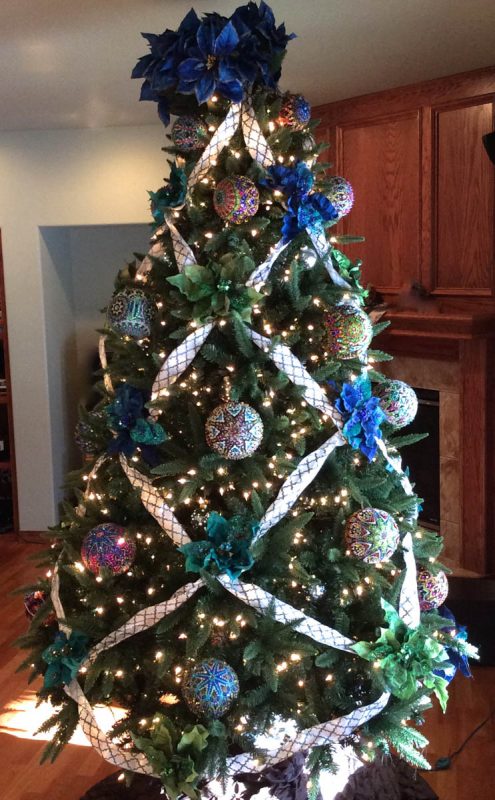
This year, one of Karen’s six Christmas Trees is a fabulous 7 ft. tall tree adorned with twenty-four bejeweled balls. The tree is raised up a foot on a table covered with brown, quilted fabric. Karen started making the ornaments before last Christmas.

Here’s some of what she has to say:
“Making the ornaments was a creative outlet. Following the beautiful designs of the fabric allowed me to make essentially the same things but different every time as the mood moved me. In order to make the balls the focal point, I used ribbon to separate the tree into diamond shaped areas where a ball could sit front and center as the star of the show. I found blinged out poinsettias (think glitter) in the same colors as the fabrics to center where the ribbons cross, keeping the attention on the balls. There are 24 balls total: 16 six inch balls, 4 five inch balls and 4 four inch balls. Those smaller eight are at the top of the tree to give it the illusion of being taller. I have another three ornaments on the mantel and another three (one in each size) that will sit on the buffet table in the dining room.”
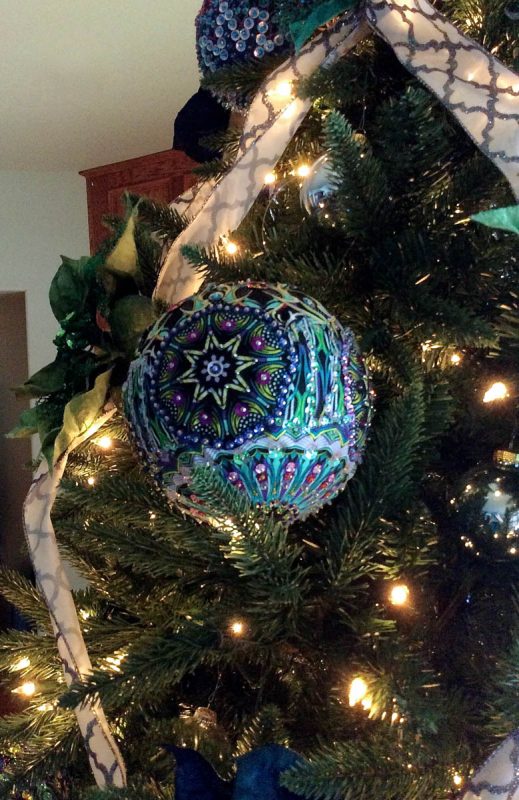
To attach the ornaments to the tree, Karen glued two long 2″ eye hook needles, putting E6000 glue on the needle which is pushed into anywhere on the ball against a sequin to make it blend in. The glue does not go through into the Styrofoam but does firmly connect the eye hook to the fabric. Then she used a regular ornament hook, wrapping it firmly around the tree limb to secure it. To ensure stability, she makes some of the limbs support the larger balls just in case the glue does not want to hold.

Please download the instructions: Opulent Ornaments Instructions.
Here is a list of fabric types you’ll want to look for:
You might even find you already have some in your stash.


Here’s your chance to get in touch with your inner embellisher. These eye-catching ornaments often trigger nostalgic memories of family members who made some type of embellished Styrofoam ball. This version kicks it up a notch. You’ll intuitively rely on the repetitive flow of shapes and colors from a commercial kaleidoscopic or medallion-like print to create this easy-to-make and visually beautiful object, brimming with sparkle and ready to display.
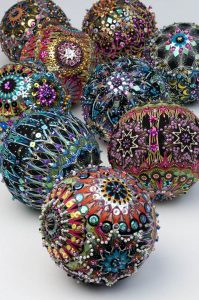
It’s all done with regular, inexpensive dressmaker pins, not fancy-schmancy silk or piecing pins. The key is to layer luminous beads with iridescent sequins; I pile one sequin on another for interesting effects. It’s a More is MORE moment!
About thirty ornaments—some on candlesticks, others filling a wrought iron basket—spill along the top of a 7 ft. long x 1 ft. wide x 3 ft. high rosewood cabinet in the living room of my New York City apartment. Sitting under a quilt and behind a couch, the unit was built to store rolled up quilts.

Here are images of the most recent ones I’ve made with my friend Katherine Knauer.

Now I get to introduce you to Karen Selva from Colorado Springs, CO. Karen spent twenty-four years in the Air Force before retiring as a colonel. Her three kids are grown and she works on a variety of craft genres to her heart’s content.
This year, one of Karen’s six Christmas Trees is a fabulous 7 ft. tall tree adorned with twenty-four bejeweled balls. The tree is raised up a foot on a table covered with brown, quilted fabric. Karen started making the ornaments before last Christmas.
Here’s some of what she has to say:
“Making the ornaments was a creative outlet. Following the beautiful designs of the fabric allowed me to make essentially the same things but different every time as the mood moved me. In order to make the balls the focal point, I used ribbon to separate the tree into diamond shaped areas where a ball could sit front and center as the star of the show. I found blinged out poinsettias (think glitter) in the same colors as the fabrics to center where the ribbons cross, keeping the attention on the balls. There are 24 balls total: 16 six inch balls, 4 five inch balls and 4 four inch balls. Those smaller eight are at the top of the tree to give it the illusion of being taller. I have another three ornaments on the mantel and another three (one in each size) that will sit on the buffet table in the dining room.”
To attach the ornaments to the tree, Karen glued two long 2″ eye hook needles, putting E6000 glue on the needle which is pushed into anywhere on the ball against a sequin to make it blend in. The glue does not go through into the Styrofoam but does firmly connect the eye hook to the fabric. Then she used a regular ornament hook, wrapping it firmly around the tree limb to secure it. To ensure stability, she makes some of the limbs support the larger balls just in case the glue does not want to hold.
Please download the instructions: Opulent Ornaments Instructions.
Here is a list of fabric types you’ll want to look for:
You might even find you already have some in your stash.


No comments:
Post a Comment